Mastering Digital Art: From Sketch to Finished Piece
A professional workflow for digital illustration, from thumbnails and layers to colour, lighting and export.
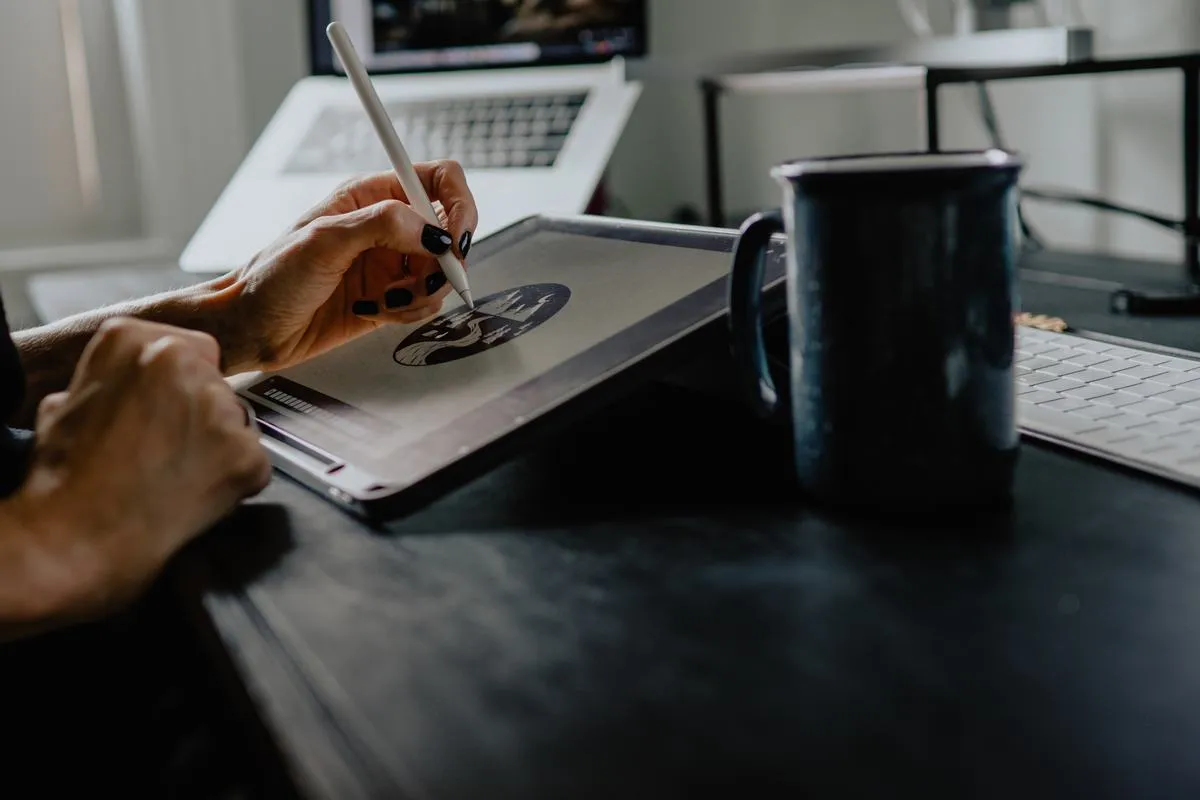
Digital tools make it easy to experiment, and just as easy to get lost in endless tweaking. A clear workflow keeps you moving from idea to finished image. Here’s the one our digital workshop uses.
1. Thumbnails first
Create a small canvas and draw six to ten tiny thumbnails of your idea, each no bigger than a postage stamp on screen. Use only one brush and two or three greys. You’re testing composition, not detail: where is the focal point, and how does the eye move through the image?
Pick the strongest one. If you can’t decide, flip them all horizontally. Weak compositions tend to look wrong when mirrored.
2. Set up your file
Scale your chosen thumbnail up to final size and keep it as the bottom layer at low opacity. A sensible starting file:
| Purpose | Size | Resolution |
|---|---|---|
| Social media | 2048 × 2560 px | 72–150 ppi |
| A4 print | 2480 × 3508 px | 300 ppi |
| Large poster | 7016 × 9933 px | 300 ppi |
Name your layers as you go (sketch, flats, shadows, lights, details). Future you will be grateful.
3. Refine the sketch
On a new layer, draw a cleaner sketch over the thumbnail. Use reference for anatomy, perspective and lighting. Professionals use it constantly. Turn on a perspective guide if your scene has architecture.
4. Lay down flats
Under the sketch, block in each shape with a flat, mid-value colour. Keep each major element on its own layer, or use a selection-friendly flats layer. This is the foundation for everything that follows, so check your values in greyscale. Most programs have a quick toggle, or you can add a black-and-white adjustment layer.
5. Light and shadow
Decide where your light source is and stick to it.
- Add a Multiply layer clipped to your flats and paint shadows in a single cool colour.
- Add an Overlay or Add (Glow) layer for lights.
- Paint a rim light along edges facing a secondary light source to separate subjects from the background.
Clipping masks keep everything inside the lines without needing to be careful.
6. Render the focal point
Merge a copy of your layers and start painting directly on it. Spend most of your time on the focal point, the face, the hands or the main object, and leave the edges of the image looser. Detail everywhere means emphasis nowhere.
7. Final pass and export
- Flip the canvas one last time to catch mistakes.
- Add a subtle colour-grade adjustment to unify the palette.
- Save a layered master file, then export a PNG for the web or a flattened TIFF for print.
Keep going
Repeat the workflow with a 90-minute time limit. Constraints force decisions, and decisions are what finish pieces. Share your work-in-progress at a critique circle to get feedback before the final render.